MOSAIC RENDERS
2 products
Showing 1 - 2 of 2 products
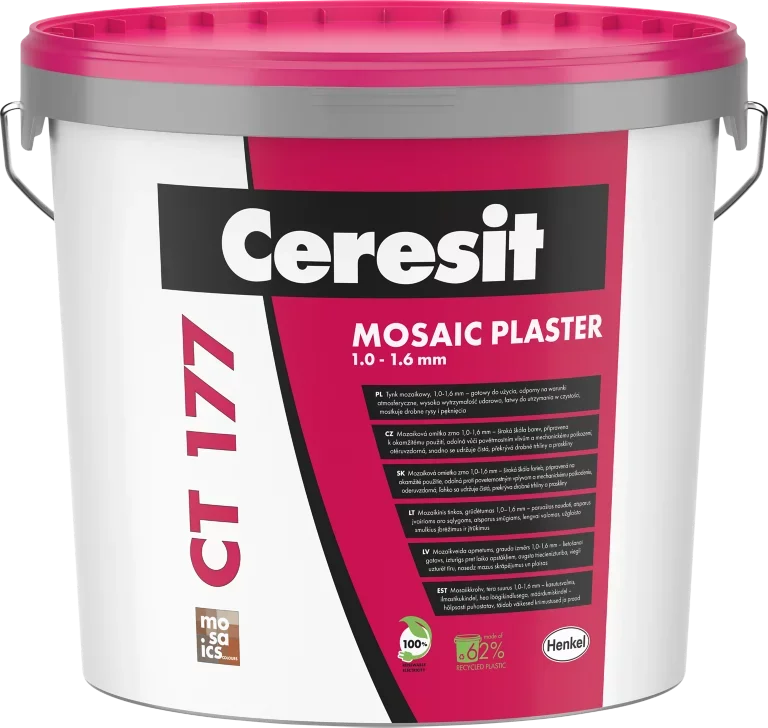
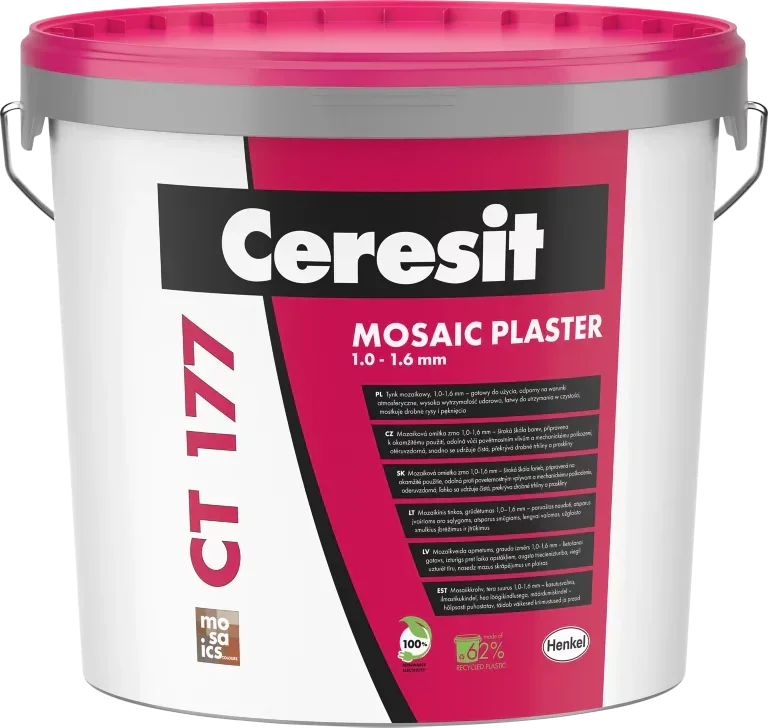
The Renders World mosaic render collection centres on the Ceresit CT 177 quartz-aggregate system in 25 kg and 10 kg packs, achieving Category I impact resistance and W3 water absorption under EN 15824:2017 — engineered for plinths, splash zones, and reveals across UK exposure conditions.
Where Mosaic Render Performs Best — UK Plinth and Splash-Zone Applications
Mosaic render is a resin-bound coloured-quartz finish that achieves Category I impact resistance under ETAG 004 — the highest classification for thin-layer plasters — at roughly 4.0 kg/m² coverage, formulated for the plinths, splash zones, and ground-level facade areas where standard thin-coat finishes scuff and crack. Within the wider rendering materials range, this collection owns the low-level zone of a complete facade build-up.
The collection covers two pack sizes of the identical CT 177 formulation. A 25 kg bucket covers approximately 6 m² for full-house plinths and trade-volume work, while a 10 kg bucket covers approximately 2.5 m² for repairs, feature panels, and reveals, so the choice between them comes down to project scale rather than performance.
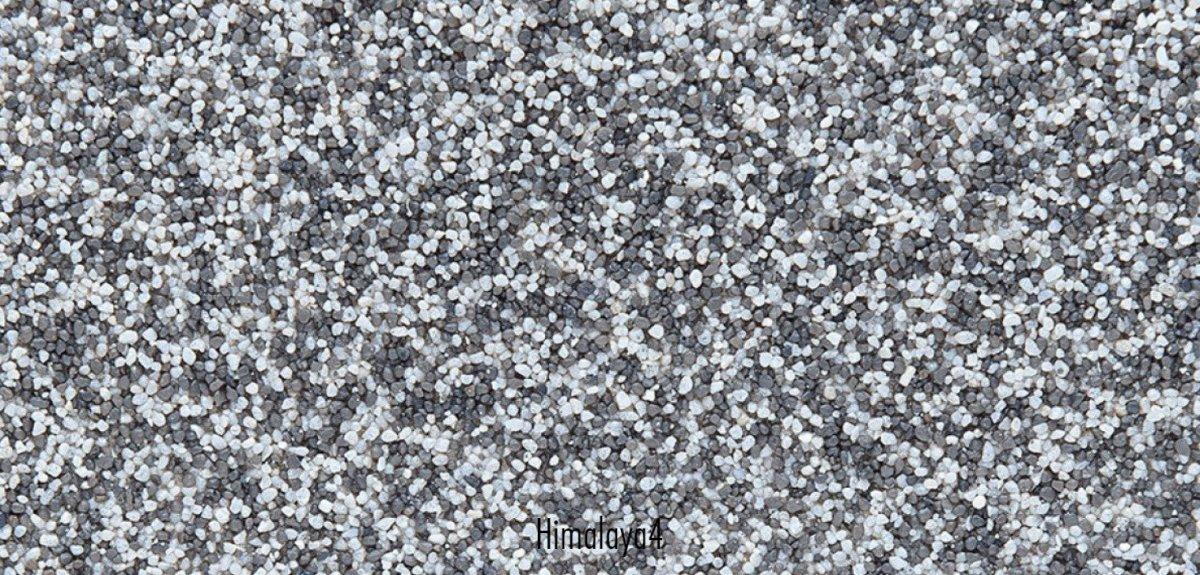
Pigment sits within the quartz grains themselves rather than as a paint film on top, which is what gives the finished surface its long working life. The result is a plinth that resists driven rain, tolerates regular hose-down cleaning, and holds its colour for years without repainting — the durability that keeps a ground-level zone looking sharp five winters after the scaffold comes down.
Why Trade Specifiers Choose Mosaic Render
- Impact-proof plinth protection: Category I impact resistance under ETAG 004 absorbs everyday knocks from mowers, bicycles, and wheelie bins without cracking or chipping at ground level — the highest impact class available for thin-layer plasters.
- Rain repellency with breathability: Class W3 water absorption (w ≤ 0.1 kg/m²·h⁰·⁵) sheds splashback from gutters and ground-level rebound, while V2 vapour permeability (Sd 0.14–1.4 m per EN 15824) lets internal moisture migrate outward through the plinth zone.
- Through-coloured finish that lasts: Pigment is embedded within the quartz aggregate, not applied as a coating, so there is no paint film to peel, chalk, or fade under UV — decades of UK weather cannot strip colour from material that was never painted.
- Easy cleaning between cycles: Mud, road spray, and atmospheric pollution rinse off with a garden hose or soft wash, reducing ground-level upkeep to a seasonal rinse rather than a full repaint.
- Crack-free across seasonal swings: The flexible resin binder absorbs micro-movement as masonry expands and contracts, staying seamless where rigid cement-based plinth coatings develop hairline cracks within the first winters.
- Certified system compatibility: CT 177 holds European Technical Assessments across Ceresit Ceretherm Popular, Classic, Premium, Visage, and Wool Classic systems, keeping the warranty chain intact from board to plinth topcoat.
Selection Guide — Find Your Mosaic Render Pack in 30 Seconds
Identify your project size, read across the row, and select the matching pack. Both products use the identical CT 177 formulation, so performance is equal and the only variable is bucket weight against area covered.
| Your Project | Best Pack | Standout Spec | Coverage |
|---|---|---|---|
| Full-house plinth (12–18 m²) or trade-volume job | Ceresit CT 177 — 25 kg bucket | Category I impact · W3 · V2 | ~6 m²/bucket |
| Small repair, feature panel, or reveal (under 3 m²) | Ceresit CT 177 — 10 kg bucket | Identical formula · low-waste pack | ~2.5 m²/bucket |
For mixed-elevation projects, specify CT 177 for the plinth zone and a thin-coat finish from the premium silicone render collection above plinth height — colour-zoning the two is covered in the application section below.
How to Apply Mosaic Render — Substrates, Conditions, System Layers
Mosaic render delivers its full performance over a quartz-primed substrate. A primer from the render primers range — Ceresit CT 16 or Atlas Cerplast — evens out suction and provides the keyed surface the resin binder needs for long-term adhesion. Tinting the primer close to the aggregate colour stops the grey basecoat showing through the transparent resin, giving a richer, more uniform finish from the first coat.
The product works best on mature cement or cement-lime plasters at 28+ days, concrete at 3+ months with moisture ≤ 4%, and reinforced basecoat layers (Ceresit ZU, CT 85, CT 190, or CT 100) at 3+ days. Application temperature stays within +10 °C to +25 °C for both air and substrate, and each elevation must be completed in a single uninterrupted wet-on-wet pass because the resin begins setting within approximately 30 minutes.
- Prime to colour: Apply CT 16 or Cerplast quartz primer tinted close to the aggregate shade, allow the stated dry time, and confirm even coverage before mixing.
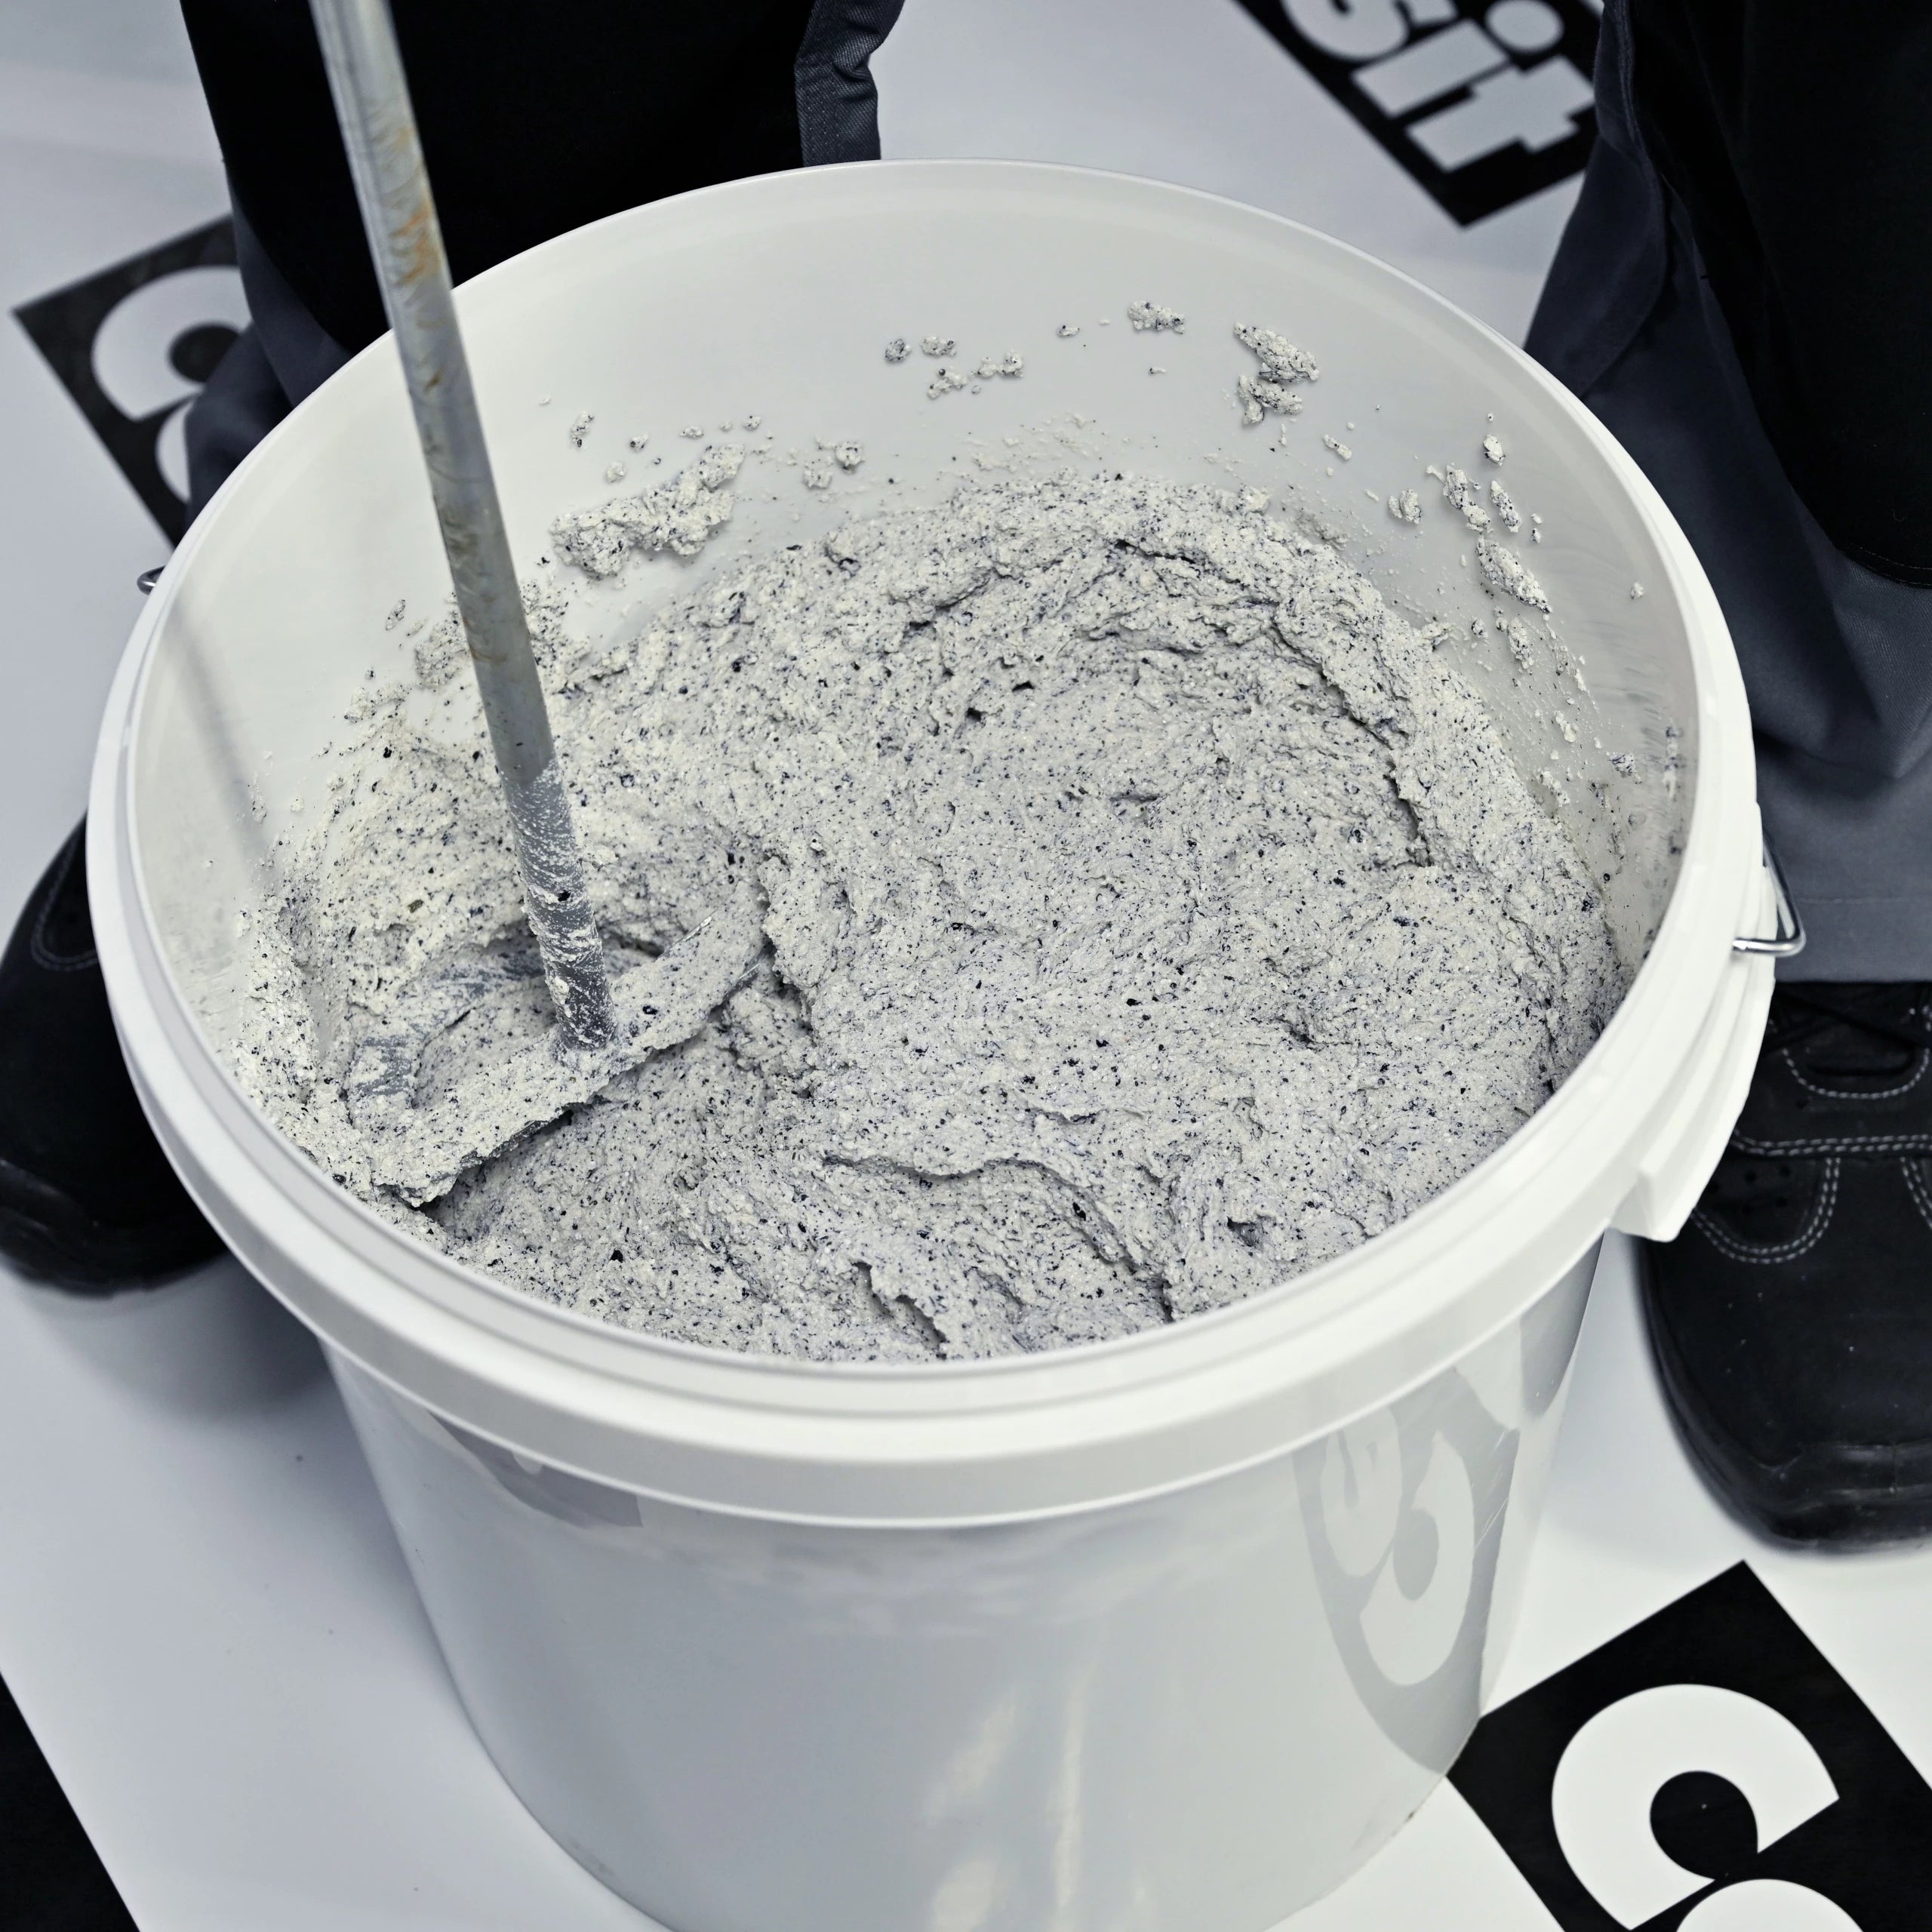
- Mix slow, mix once: Stir each bucket on a slow-speed drill with a basket mixer for a homogeneous consistency without aerating the resin, adding no more than 250 ml clean water per 25 kg if needed.
- Float in one direction: Apply with a stainless-steel trowel at roughly 1.5× grain thickness in one consistent direction; circular trowelling shifts the aggregate into visible swirls.
- Complete the elevation in one pass: Work wet-on-wet across the full plinth length, masking any unavoidable break edge with tape and removing it while fresh for a clean restart line.
- Sheet the scaffold for three days: Protect the finished surface from rain for at least three days with netting or tarpaulins, keeping humidity below 80% throughout the cure.
For DPC junction detailing and the full photographed workflow, the step-by-step plinth application guide covers every stage in the order a professional renderer follows on site. For colour-zoning across mixed-finish facades, the decorative facades with mosaic render guide sets out safe palette strategies — lighter aggregate shades suit any facade area, while darker blends with HBW below 20 perform best on small zones such as plinths and reveals.
Pro Tips From UK Installers Using Mosaic Render
A seamless mosaic finish comes down to preparation and pace. Experienced renderers flag the same handful of details when training apprentices on plinth work, and these are the points that separate a polished plinth from a patchy one five years on.
- Tint the primer to the aggregate: A grey basecoat showing through transparent resin pigment is the most common visible flaw on a finished plinth — tinting the quartz primer close to the mosaic shade hides it completely from the first coat.
- Mask any unavoidable break edge: On a long elevation, mask a straight vertical line with tape, render up to it, and remove the tape while fresh; the result is a clean restart edge instead of a visible joint.
- Plan around the 30-minute window: Resin starts setting at roughly 30 minutes, so calculate the wet-on-wet pass time before mixing — a two-person team working from one end is far more reliable than splitting the wall.
- Sheet the scaffold immediately: Uncured resin meeting rainwater produces a temporary milky appearance that clears on drying, and prompt sheeting prevents the cosmetic delay that holds up handover.
- Treat algae early on shaded plinths: The dense low-porosity surface resists growth well, but north-facing plinths shaded by vegetation can develop green or red algae over years — the red algae vs green algae diagnostic guide covers species identification and treatment.
Is Mosaic Render Right for Your Project?
- Choose mosaic render for plinth and low-level zones where masonry paint marks too easily and conventional thin-coat is vulnerable to impact at ground level — plinths, entrance surrounds, reveals, splash zones, and any base-of-wall area subject to mower, bicycle, or bin contact.
- It suits your project when you need certified compatibility within a Ceresit Ceretherm build-up, when decades-long colour stability matters more than first-fit cost, and when one supplier delivers both 25 kg trade volumes and 10 kg repair packs against next-day UK delivery.
- For full main-elevation finishes, choose silicone instead: across large wall areas above plinth height, a topcoat from the premium silicone render collection offers superior vapour permeability, hydrophobic self-cleaning, and far broader colour breadth.
- For substrate priming and colour-matching, the render primers collection covers Ceresit CT 16 and Atlas Cerplast quartz primers compatible with CT 177, with tinting available to match the aggregate and eliminate basecoat show-through.
FAQ — Mosaic Render Specification, Ordering, Application
How many buckets of mosaic render do I need for a typical house plinth?
A standard semi-detached plinth of roughly 15–18 m² needs three to four 25 kg buckets at the stated yield of approximately 4.0 kg/m², since each 25 kg bucket covers around 6 m². Measure the full perimeter, multiply by plinth height (typically 300–600 mm), then add 5–10% for corners, reveals, and normal waste. For short sections or repairs, the 10 kg bucket covering approximately 2.5 m² keeps waste low and matches the single-pass completion window for one elevation.
How does mosaic render compare to silicone on cost and where each fits?
Mosaic render carries a higher per-square-metre material cost than a standard silicone topcoat, reflecting its higher resin and quartz-aggregate content rather than a marketing premium. The trade-off is durability where it counts: at the plinth zone, Category I impact resistance and through-coloured finish typically pay back through eliminated repaint cycles over a 20+ year service life. Use silicone for large main elevations and mosaic for the vulnerable ground-level band — the two are specified together, not as alternatives. Per-bucket pricing is shown on each product page.
Is mosaic render breathable enough for solid-wall properties?
Trapped moisture migrates outward through the render rather than building up behind it, which matters on older solid-wall substrates without a cavity. Ceresit CT 177 achieves a V2 vapour permeability rating (Sd 0.14–1.4 m) under EN 15824:2017. Where maximum breathability across an entire elevation is the priority, a silicone or silicone-silicate render offers a lower Sd value — but at the plinth zone specifically, the superior impact and water resistance of mosaic outweighs the marginal vapour-permeability difference.
What is the minimum application temperature for mosaic render?
Both air and substrate must stay between +10 °C and +25 °C throughout application and for at least three days afterwards while the resin cures, ensuring the binder cross-links fully into a hard, weather-resistant surface with stable colour. The UK's April-to-October window typically gives six to seven months of ideal conditions, and fully sheeting the scaffold extends that further into the shoulder months while keeping humidity below 80% for a clean cure.
How do I keep mosaic render free of algae over time?
The dense, low-porosity surface resists biological colonisation more effectively than open-textured finishes, so most elevations stay clean with an occasional garden-hose rinse. North-facing plinths shaded by vegetation may develop green or red algae over several years, and a preventive biocidal wash every two to three years stops spores establishing before they show. If growth appears, treating with a specialist algae remover and a soft brush — rather than high-pressure jetting — preserves the resin binder and keeps the aggregate surface intact.